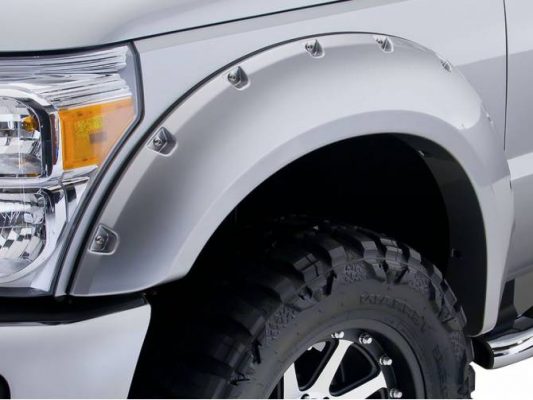
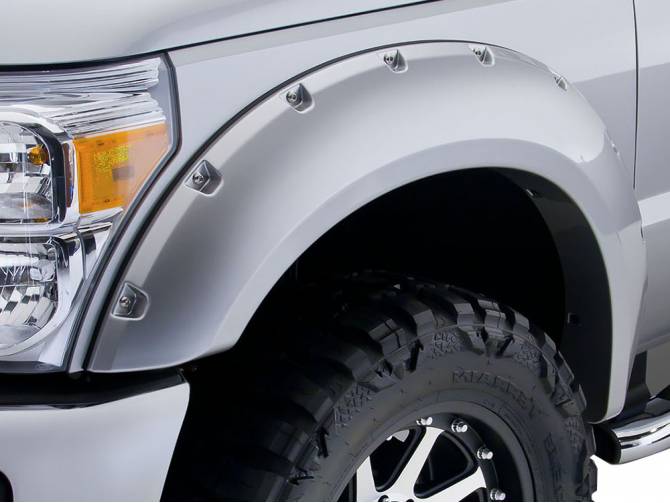
Bushwacker Fender Flares, Fender Flares, Fender Guards, Pocket Style Fender Flares, Toyota Tundra
Paint Bushwacker Fender Flares

Black Fender Flares look great out of the box and onto your 4×4, but did you know that Bushwacker Fender Flares can be easily painted to match the look and feel of your 4×4? Whether you have a custom design or solid paint job, Painted Fender Flares are the perfect way to achieve that limited edition look.
When painting Bushwacker Fender Flares you must first verify that you have ordered the right flares for your vehicle make and model, and check their fit. We suggest following your paint manufacturer’s recommendations procedures for ABS and TPO. This will ensure the best-warranted process from your coatings manufacturer. The primary differences between painting ABS and TPO is that ABS is ready to paint out of the box, while TPO requires additional priming and sanding.
We recommend using quality products designed for automotive finishes. This will result in better longevity and a closer O.E. look for your investment. Do not use loctite, superglue or similar products on the product hardware. It will leach off the hardware into the material and make it brittle. Please read warnings on labels.
It is recommended that painting is done prior to installation:
- An adhesive promoter is required
- Choose a colour coat that is a high-quality enamel, or polyurethane automotive paint
- Colour coat must have a flex additive to prevent paint cracking
- Lightly clean outer surface with a high-grade degreaser. DO NOT USE LACQUER THINNER OR ENAMEL REDUCER AS A DEGREASER – it will repel the paint.
- May use 180 grit sandpaper to knock the texture down first (Specifically TPO flares)
- Wipe outer surface thoroughly with a tack rag prior to painting.
- Apply the adhesion promoter to the surface of the flares
- Paint flares with a polypropylene primer, and let the primer flash (use high build primer)
- Sand lightly and apply a second coat of primer as needed to get the desired result
- Super light sanding with 600 grit Scotch-Brite pad
- Wipe with a tack rag
- Paint flares using your Colour coat which has the flex additive to prevent paint cracking
- Apply clear coat
A note on Flat Style Flares: The Flat Style Flare is a textured part that can be painted, but this procedure should be done by a professional painter with experience in automotive plastics. To prep a Flat Style Flare, be sure to scuff lightly and follow a standard paint system format as listed above. For best results sand the texture out and use a filler primer and block smooth, this system is much more technical and should not be performed by an amateur.
F.A.Q: How to Remove Paint = Don’t!
Do not use a paint stripper, it will ruin the flare. Additionally, it would soak into the plastic and cause the next coat of paint to peel off. Best thing to do is just leave the paint on the flare. Go over it with a light sanding, prime and repaint.

